
DIY Smoke Detector Maintenance: A Step-by-Step Guide


Introduction to Smoke Detector Maintenance
Smoke detectors are an essential part of home safety, providing early warnings of potential fires. Regular maintenance ensures they function correctly when needed. This guide will walk you through maintaining your smoke detectors effectively.
Why Regular Maintenance is Important
Regular maintenance can prevent false alarms and ensure that your smoke detectors are operational. Over time, dust and other particles can accumulate inside the detector, affecting its sensitivity and performance.
Tools and Materials Needed
Before starting, gather the following tools and materials:
- A ladder or step stool
- A vacuum cleaner with a soft brush attachment
- New batteries
- A can of compressed air

Step-by-Step Maintenance Guide
Step 1: Test the Smoke Detector
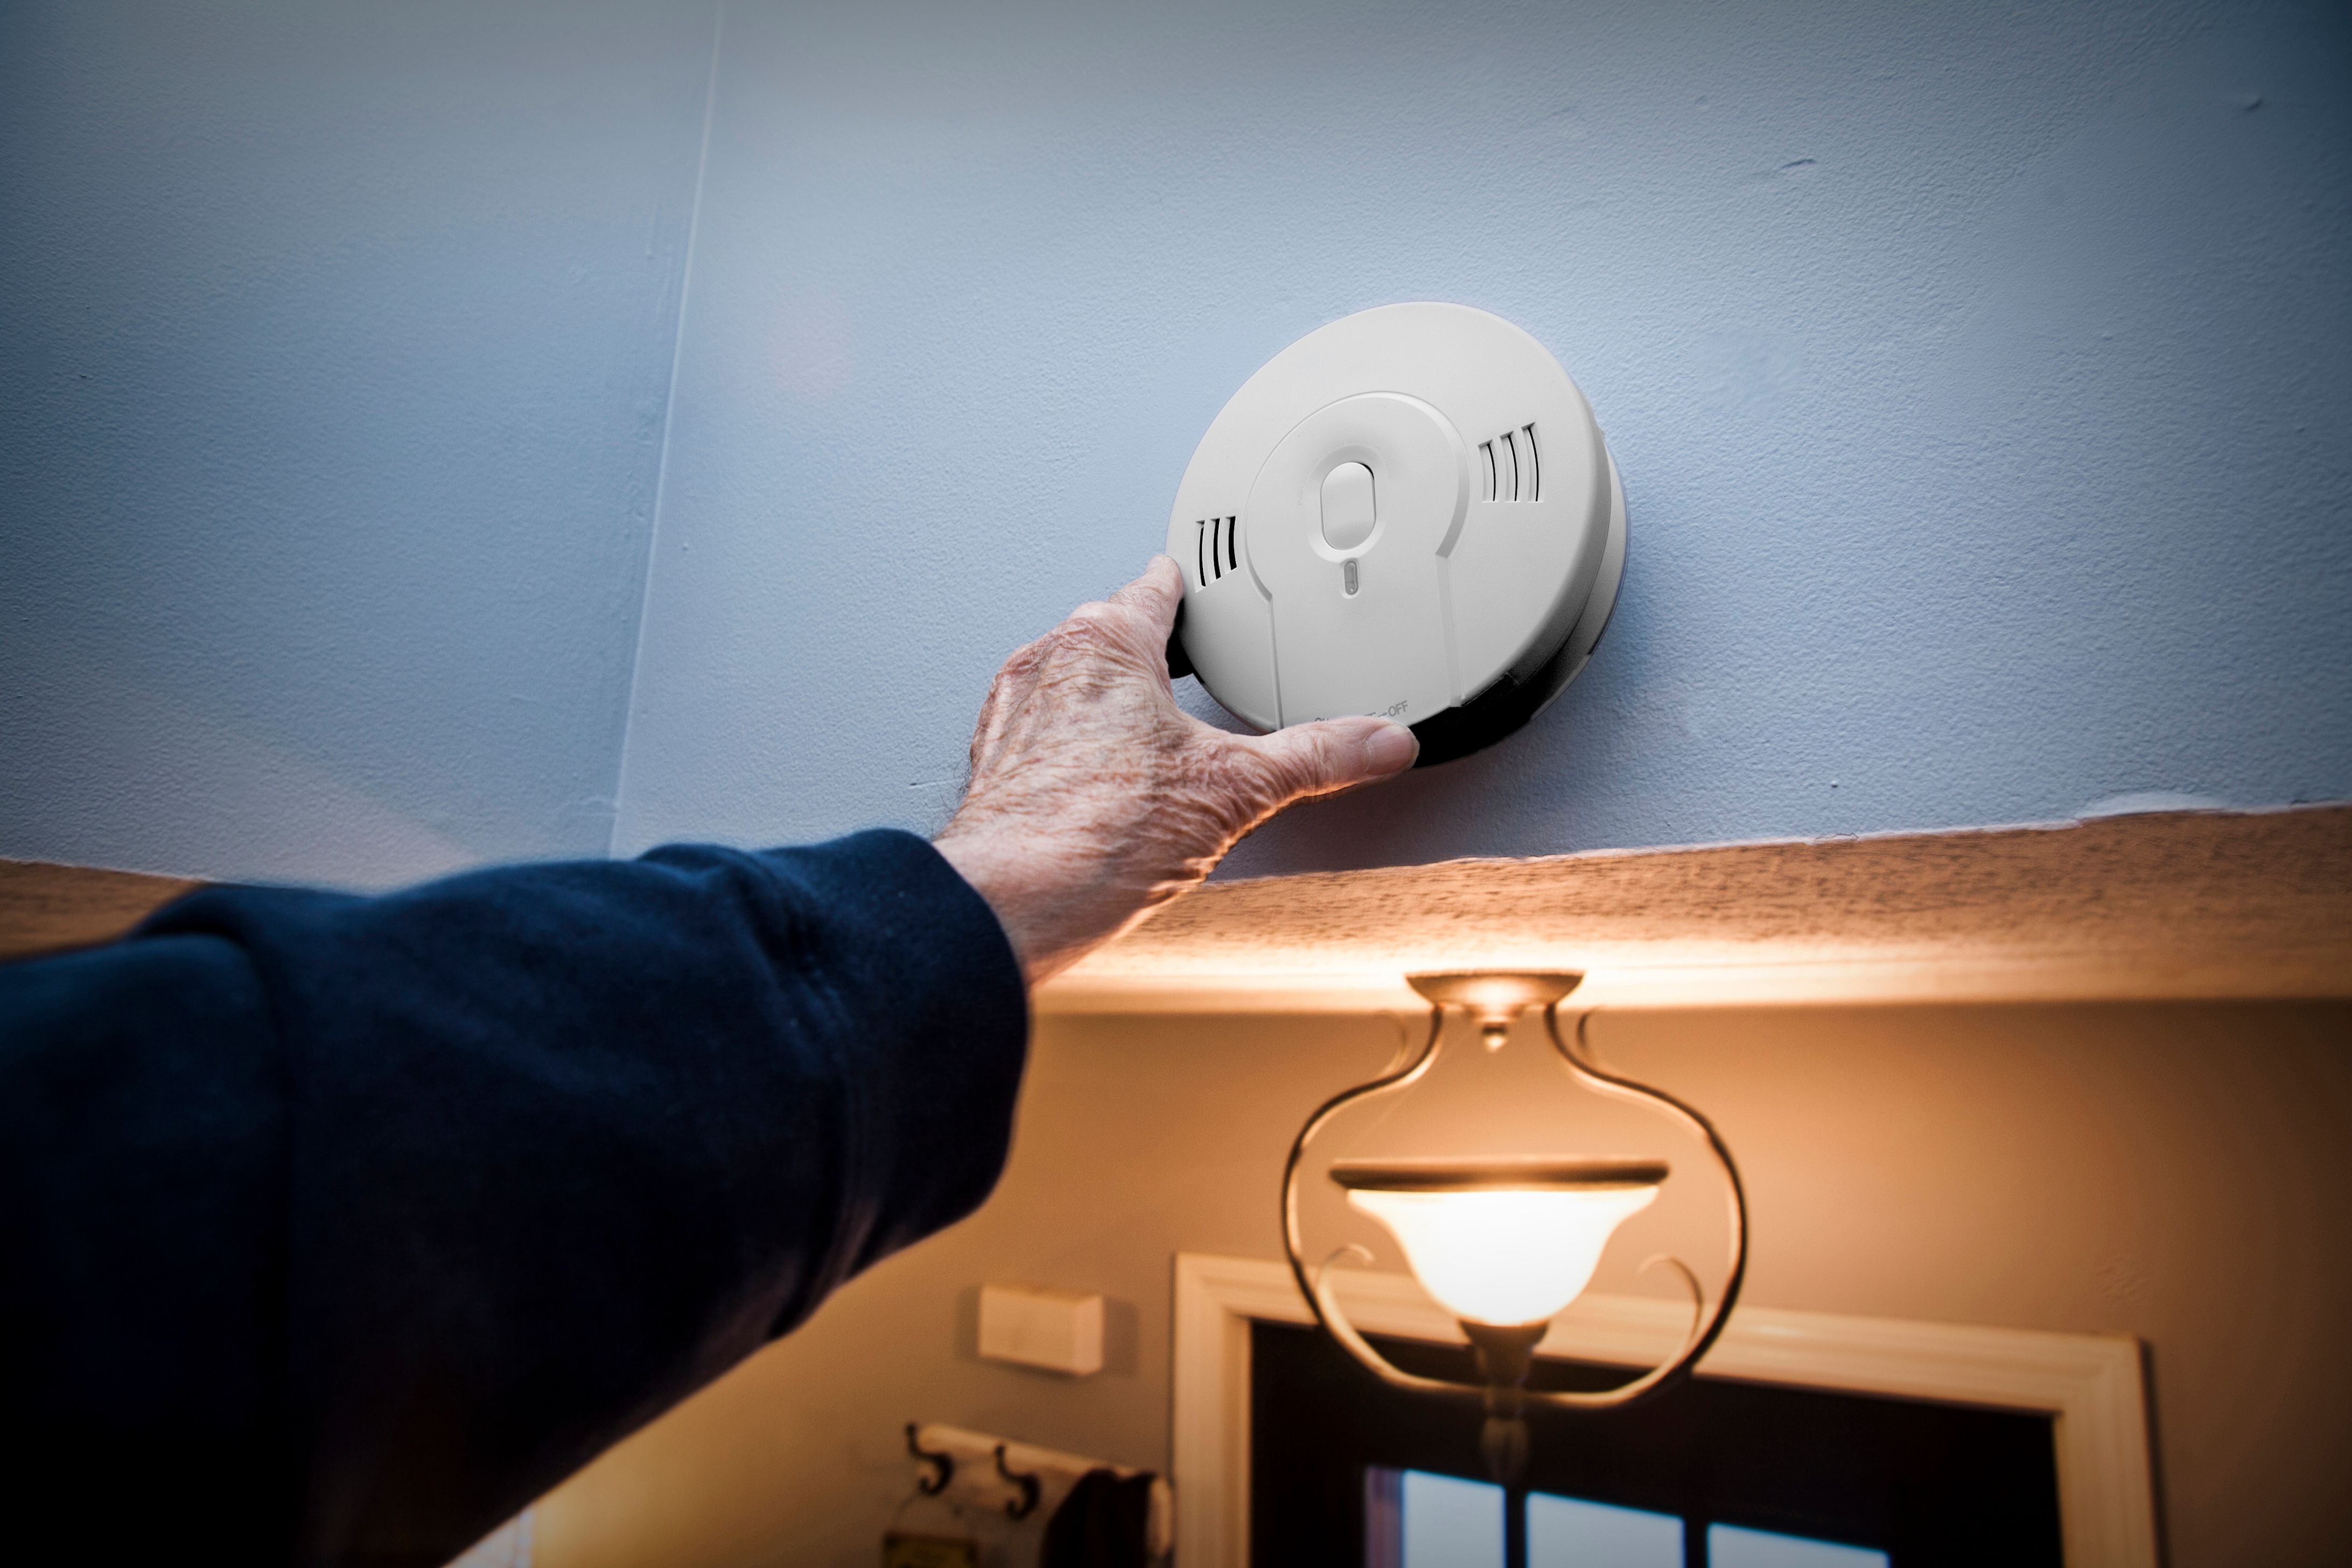
Start by pressing the test button on your smoke detector. If it beeps, the detector is working. If not, replace the batteries and test again.
Step 2: Clean the Detector
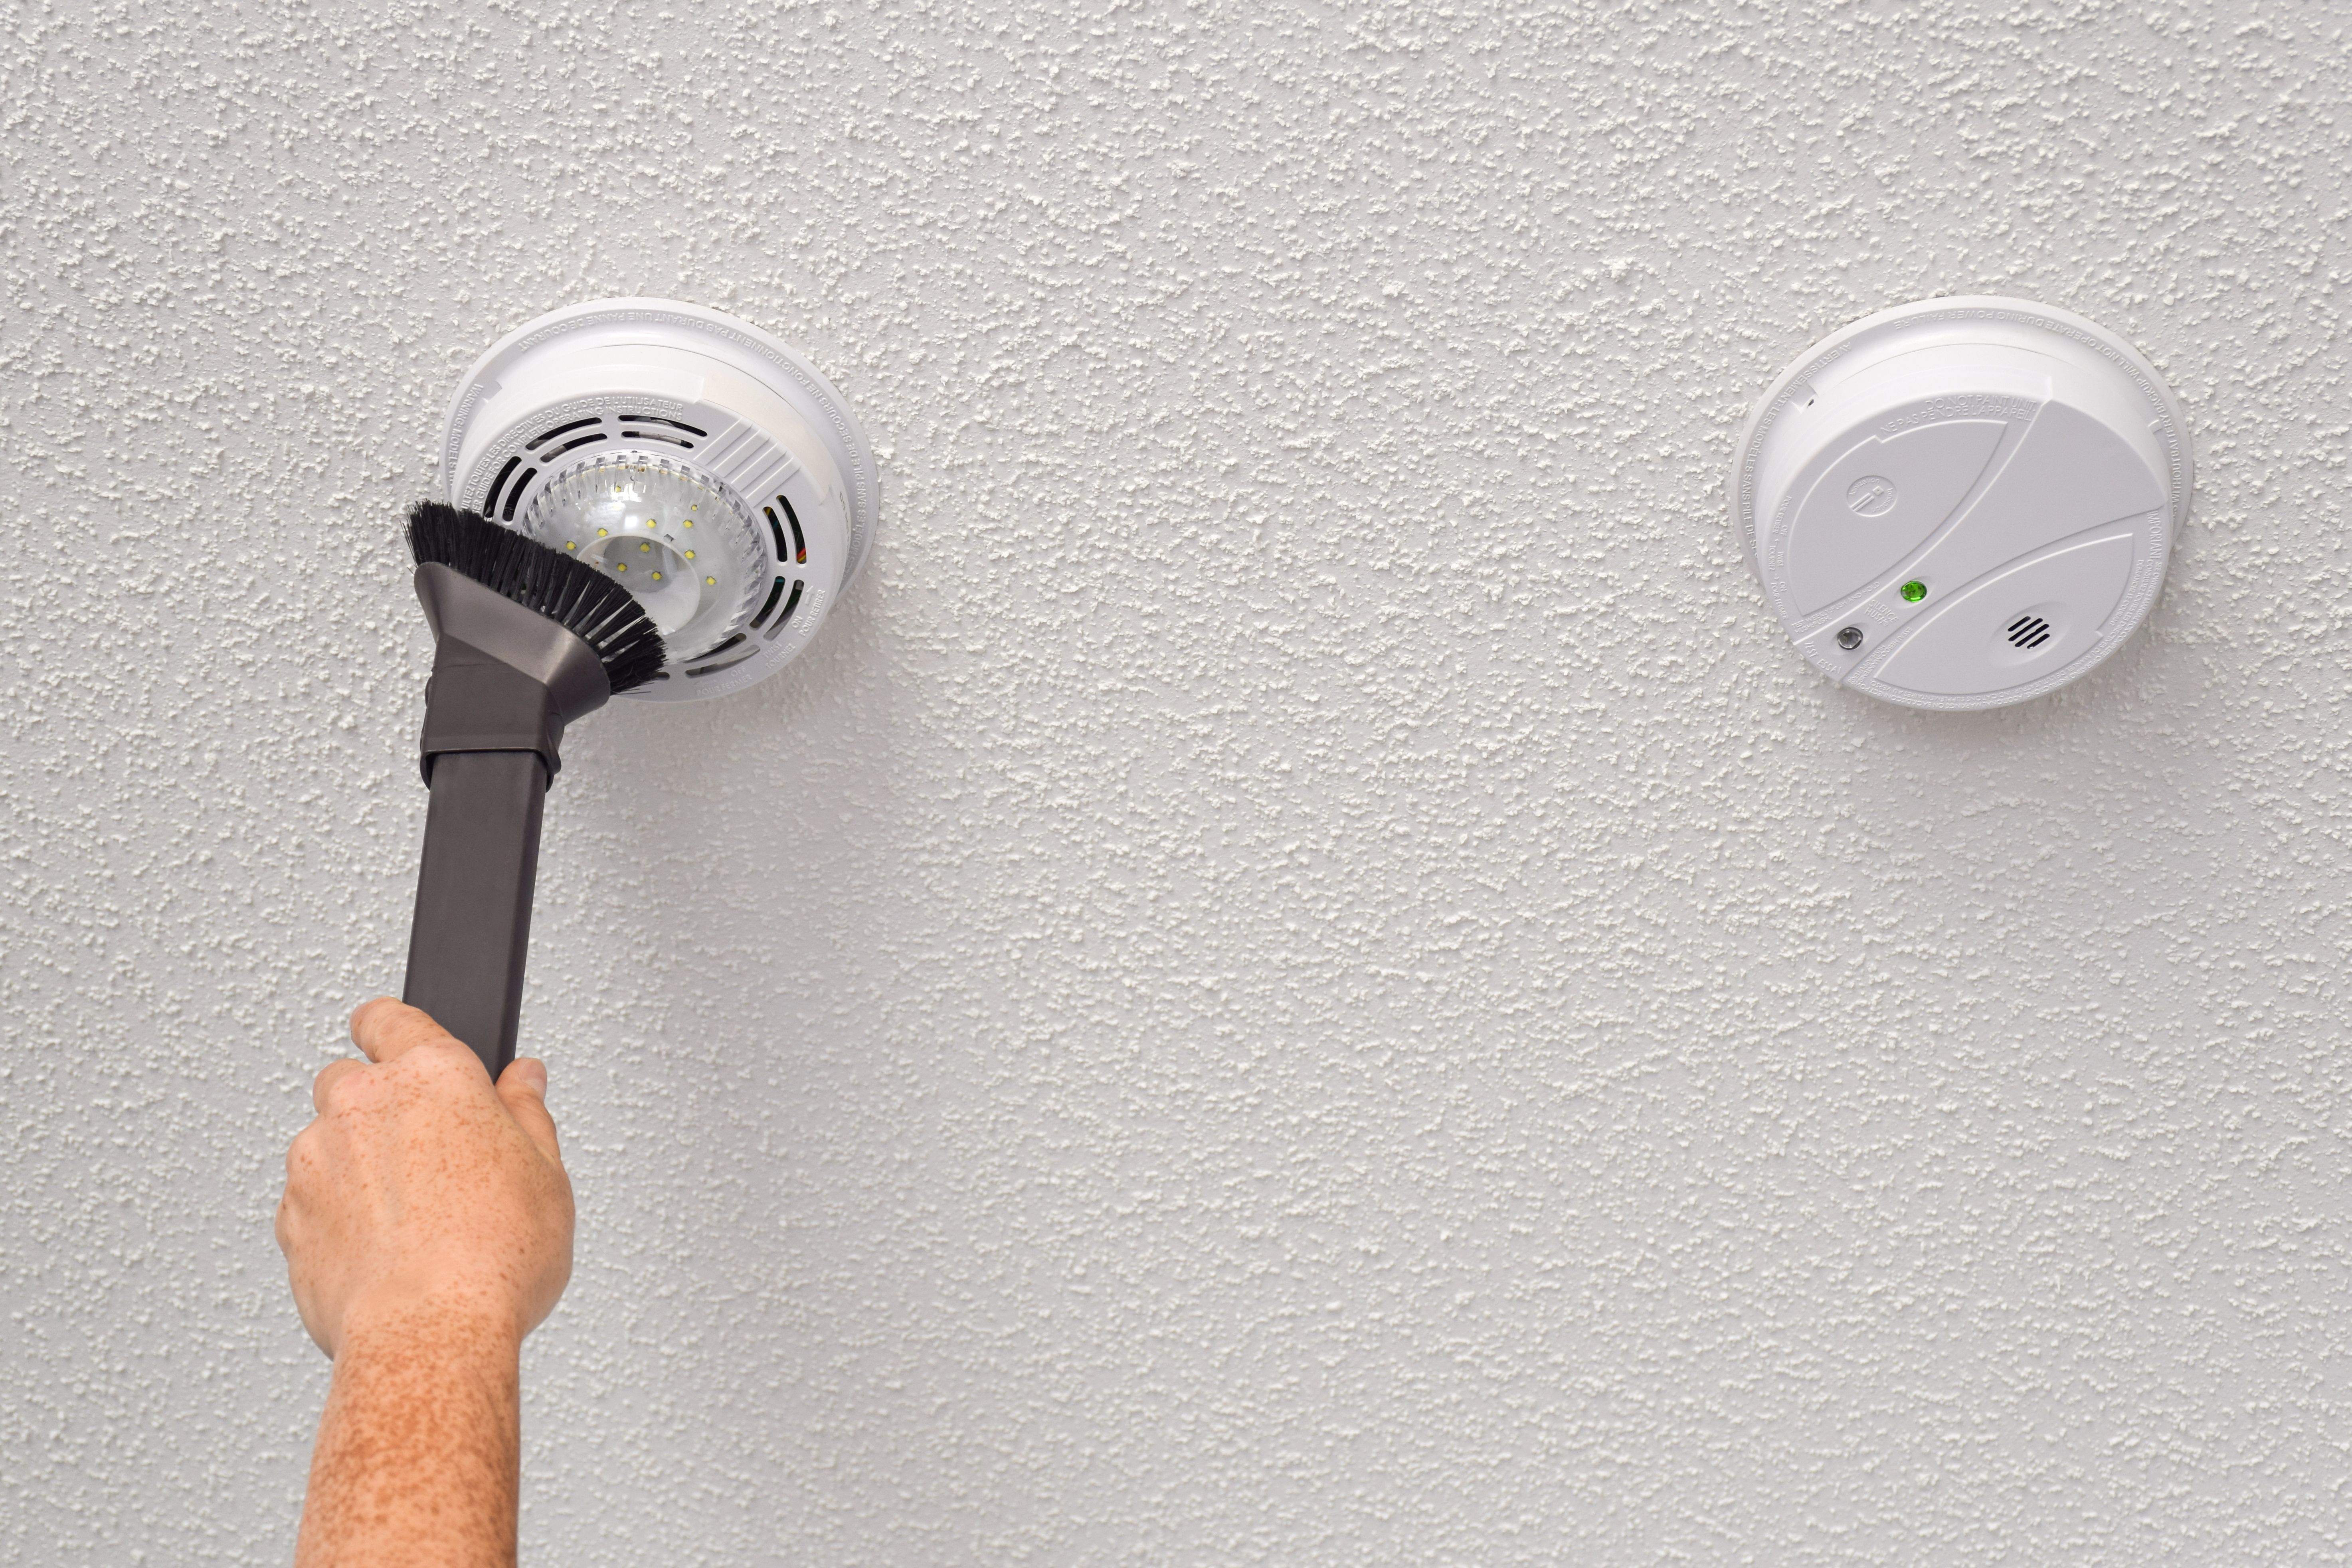
Use the vacuum cleaner with a soft brush attachment to remove dust and debris from the detector. This helps maintain sensitivity and reduces the chance of false alarms.
Step 3: Replace the Batteries
Even if the detector is working, it's a good idea to replace the batteries at least once a year. Open the battery compartment, remove the old batteries, and install new ones. Ensure they are placed in the correct orientation.
Final Checks and Safety Tips
Once you've completed the maintenance, test the detector again to ensure it's functioning properly. It's also wise to check and ensure all smoke detectors in your home are interconnected, if applicable.
Tip: Consider setting a reminder on your calendar to check your smoke detectors every six months.
Conclusion
Regular maintenance of smoke detectors is a simple but crucial task in ensuring the safety of your home and loved ones. By following these steps, you can ensure your smoke detectors remain in top condition and provide peace of mind.